Easter is coming, it is the perfect time to make HOT CROSS BUNS!
Soft, Fluffy and Delicious Hot Cross Bun Recipe. Traditionally eaten on Easter or Good Friday. This recipe is an original British version using orange peel and various spices that taste much better than the grocery store bought ones in my town.
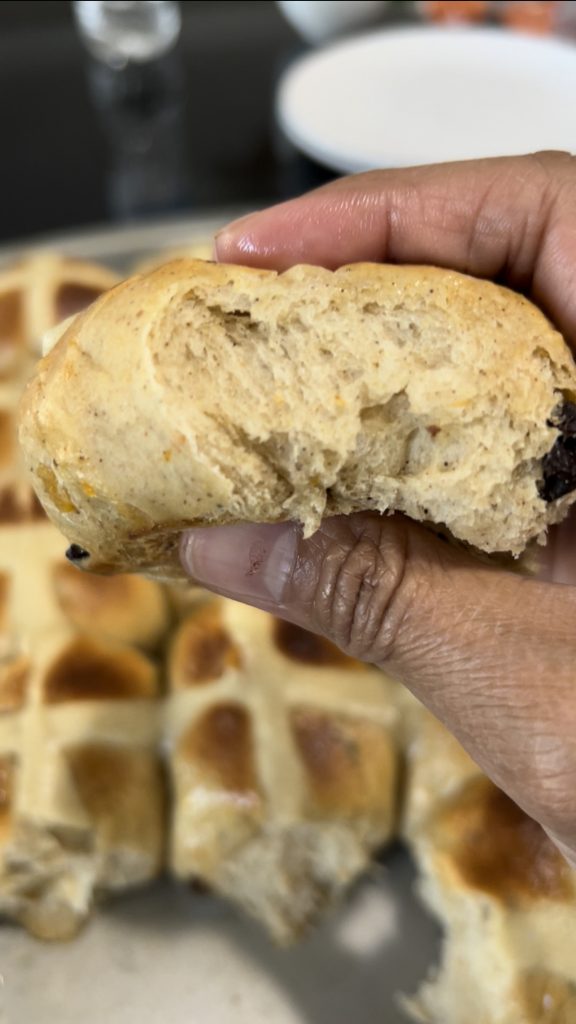
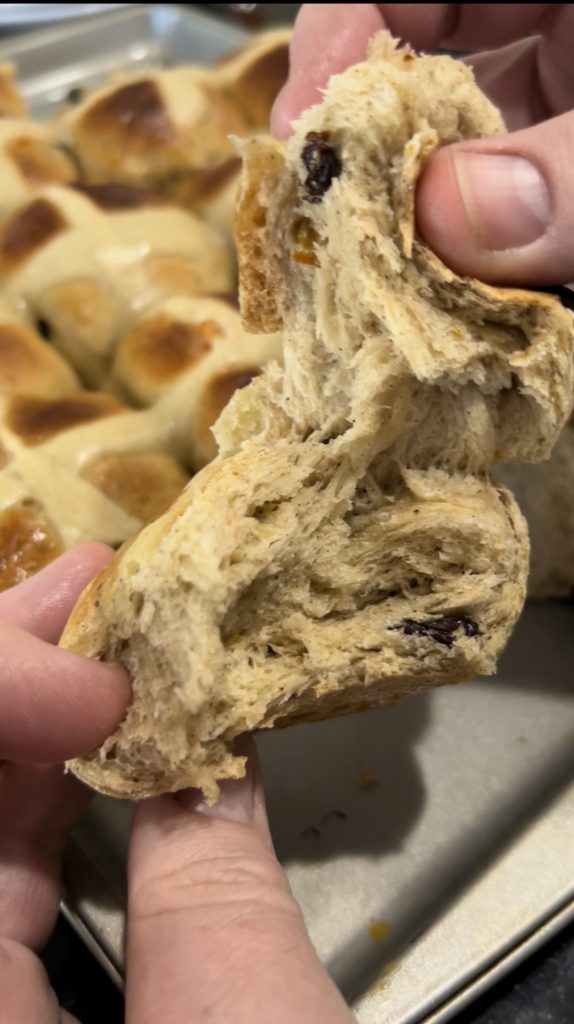
Hot cross buns are a popular Easter treat that has been enjoyed for centuries. These spiced buns are made with a soft, sweet dough and studded with orange peel, raisins or sultanas just like the ones I used to have from Tesco or Lidl! . Topped with a signature cross made of flour and sugar glaze, hot cross buns are a delicious and festive addition to any Easter brunch.
You can say that this hot cross bun is a cross between dinner roll and cinnamon roll. The best thing is that this recipe is really easy to make at home.

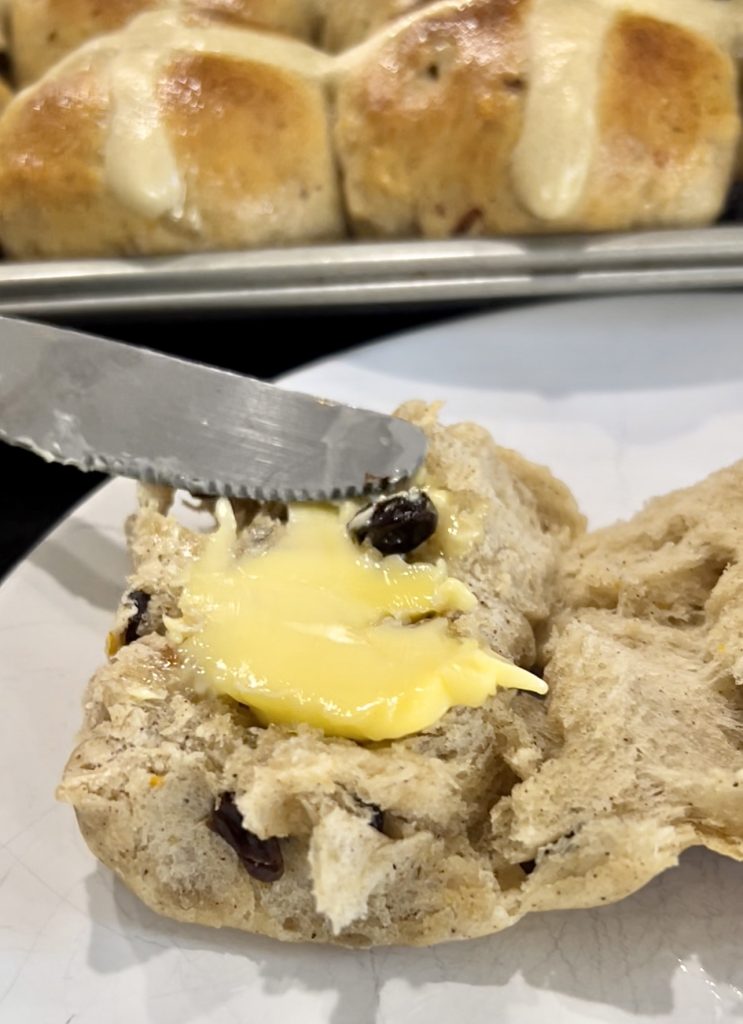
If you’re looking to make your own hot cross buns this Easter, look no further than this recipe! With just a few simple ingredients and some easy-to-follow steps, you can create a batch of delicious hot cross buns that are sure to impress your friends and family.
Want to know how to make the perfect Homemade Hot cross bun just like in the UK shops? Let’s bake!
Ingredients:
For the buns:
- 1 1/2 Cup warm milk (375 mL)
- 2 ¼ tsp active dry yeast (1 pkg)
- 4 1/2 cups (640 g) all purpose flour + extra
- ½ cups (110 g) + 2 Tsp granulated white sugar
- 4 Tbsp (56 g) unsalted butter melted (room temperature)
- 1 egg (room temperature)
- 1 tsp ground cinnamon
- 1 tsp pumpkin spice if you are in America (you can use mixed spice or all spice if you are in the UK)
- ¼ tsp ground cloves (optional)
- ¼ tsp grated nutmeg (optional)
- 1 tsp salt
- Orange zest (from 1 large orange) or use 2 lemons zest
- 100 – 125g California raisins or you can use dried fruit ( I like extra raisins and prefer soak overnight with black tea or soaked in orange juice for at least 30 mins)
- 1/2 cups (60 g) orange peel if you are in UK (I used home made, because I can’t find in America-check my recipe) or you can use mixed peel/candied citrus peel
For the cross
- ½ cups (75 g) All Purpose flour (measured by spoon and level method)
- 2 tbsp (20 g) confectioner’s sugar
- 5 tbsp water
For Glaze:
- 1 Egg yolk
- 2 Tbsp Cream or milk
- 2 Tbsp melted butter for finishing
Or
- 1 Tbsp apricot jam
- 2 Tsp water
SHOP THE INGREDIENTS HERE
USEFUL TOOLS WE USE
Method
1.Prepare the yeast: in a mixing bowl, add yeast and 2 tsp sugar, then add in warm milk (full or low fat), mix and leave it for 5-10 mins in a very warm place. If you are using instant or rapid rise yeast then skip this step, just mix it with other dry ingredients.
Note: I heat the milk in the microwave on high for 1 min. (I stop at 45 seconds, test then continue 15 sec) You don’t want hot milk, just warmed. Hot milk can kill the yeast, make sure it’s 105-110F/43C – you can check temperature using a Thermapen or your finger (it should feel like a bath).
2. When the yeast gets foamy, add flour, sugar, pumpkin pie spice, cinnamon powder, ground cloves, grated/powder nutmeg, and salt. Then briefly mix with a stand mixer fitted with a dough hook.
Note: I use pumpkin pie spice because I couldn’t find all the individual spices in my grocery store, I added cloves and nutmeg because I like my buns spiced but you can skip this.
3. Add melted butter, egg, sultanas, orange peel and orange/lemon zest.
Note: Dried fruit, I like using raisins like the original hot cross buns I had when we still lived in the UK and I prefer soaked overnight with black tea or soaked in orange juice for at least 30 mins to give the dough more moisture and depth of taste. However, in my video, I add raisins and orange peel after the dough has been kneaded. I found it was very hard to disperse them evenly throughout the dough, so now I have changed method and it works out better adding them before kneading, the end result/taste is the same but some raisins get squished 🙂 I also love the orange taste on my bun, adding only orange zest is not enough so I highly recommend to add orange peel (It’s easy to find in the UK and cheap but not in America – no worries though because it’s easy to make at home, and it freezes well! Look out for my next orange peel recipe!)
4. Using a stand mixer, knead on a low – medium speed for about 5-8 mins (I use kitchenaid mixer stand pro 600 – speed #2). After about 2 mins add the extra flour so the dough comes away from the bowl (it shouldn’t be more than 1/4 cup). When the dough is smooth and elastic, it’s ready for the rise. Alternatively, dust a work surface with flour and knead by hand for 10-15 minutes.
Note: adding too much flour can result in a dry dough = tough buns! Tough buns are good in the gym, but bad in the kitchen 🙂
5. Oil the bowl and leave dough in the bowl to rise, cover with cling wrap and place in a warm place until doubled in size. This will take anywhere between 60 – 90 minutes. (I leave it inside my oven- preheated to 110F/43C and turned off).
Note: By oiling the bowl, it will moisten the dough. The dough should be placed in a warm and wind free place for rising.
6. After the dough has doubled in size, gently punch the dough using your hand to let the air out, then shape it in a log or round and cut into 18-19 equal pieces.
Note: cut and weigh the dough into 70-75g to make equal pieces (mine was 19 pieces)
7. Prepare a baking tray mine is 16″X11″ (41cmx28cm) and spray using oil or butter or line using baking paper.
8. Take one piece and press down then stretch the dough with palm or finger or a small rolling pin, then use your fingers to gather into a round shape, then roll the dough briefly to form a smooth ball. Watch the video if this is not clear.
8. Repeat with remaining dough and line them up evenly.
9. Cover with cling wrap and place in a warm place for proofing, which should take about 30-60 mins or until the dough has risen by about 50-75% (less than double in size, mine took only 30 mins using oven at 110F/43C).
10. Meanwhile make the cross by mixing the flour, sugar and water, until a thick paste forms (similar to thick pancake batter consistency)
Note: You can make the cross just using a mix of water and flour, the trick is ensuring it is the right consistency almost like a thick pancake batter, adding water little by little (mine was about 5 Tbsp flour and a splash of water). If it is too thin, it will end up running everywhere and not be visible on the buns after baking. Too thick, and you will end up with a hard line on the surface of the buns.
11. Preheat the oven to 350F/180C.
12. Glaze the dough using a mixture of egg yolk and cream\milk before adding the cross. Add the cross and then bake until golden brown, not pale! Mine took about 23-25 minutes (Check after 20 mins, to make sure they don’t burn) . Your oven will be different from mine, so watch them buns!
13. Remove buns from oven, place on a cooling rack then brush with melted butter or apricot jam or honey for extra shine!
14. Allow to cool (5-10 mins) but still warm before serving. It is best served on day it’s baked and add butter! Please use real grass-fed cow butter. Anchor butter is the absolute best but quite hard to find here in the US. Kerrygold is a great second choice and available almost everywhere. Real butter is so worth it!
Note: The buns can stay fresh and soft up to 3 days and freeze well for about 3 months (just defrost and reheat). To reheat, 10-12 sec in the microwave or put it in a toaster for a few mins.
To reheat batches, simply reheat the oven at 325F/160F and put the buns on a baking tray (make sure to cover them with foil to avoid the surface getting too crisp), then bake for 8 minutes or so.
ENJOY!!


